
Table of contents
Overview
Welcome to Dropioo.
This guide walks you through the first steps required to create your Dropioo account, configure your workspace, set up your main warehouse, and prepare your organization for delivery operations.
By the end of this guide, you will be able to:
Create and verify your Dropioo account
Complete your company profile
Configure your workspace settings
Set up your main warehouse location
Add optional services used by your delivery operations
Access your Dropioo workspace and begin the next setup steps
1. Create your Dropioo account
To start using Dropioo, you first need to create an account for your company.
Every account starts with a 30 day free trial.
Steps
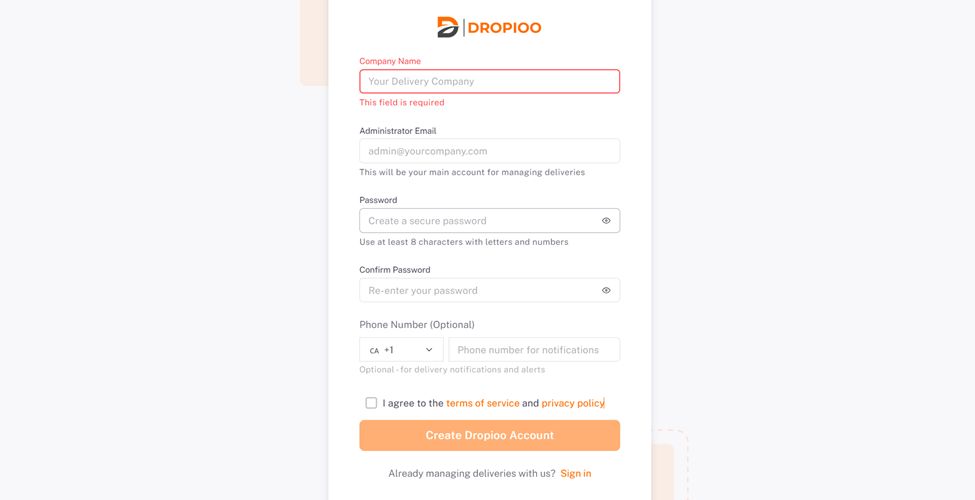
Go to the Dropioo website or application : https://app.dropioo.com/register.
Click Sign Up.
Enter your company name.
Enter your company address.
Enter your business email address.
Create a secure password.
Review and accept the Terms and Conditions.
Click Create Account.
Important note
After submitting the registration form, Dropioo will send a confirmation email to your business email address.
You must verify your email before logging in for the first time.
2. Verify your email address
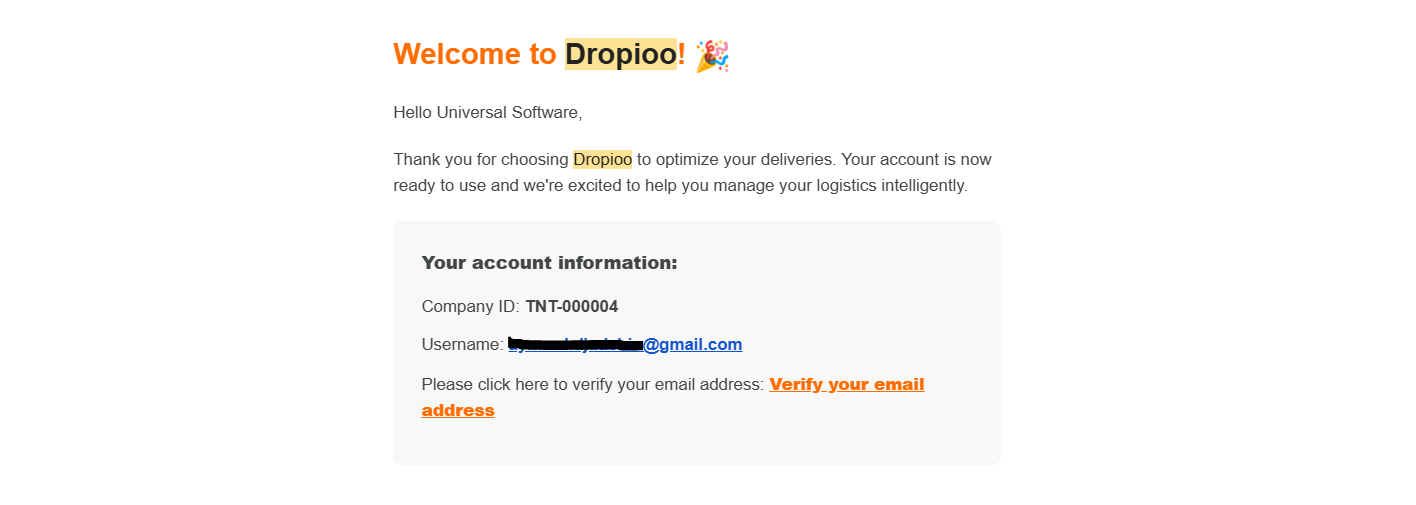
Email verification is required to activate your Dropioo account.
Steps
Open your email inbox.
Look for the confirmation email sent by Dropioo.
Click the verification link.
Once your email is verified, return to the Dropioo login page.
Sign in using your business email and password.
Troubleshooting
If you do not receive the confirmation email:
Check your spam or junk folder
Make sure the email address entered during registration is correct
Request a new verification email from the login page
3. Sign in to your Dropioo workspace
Once your email has been verified, you can access your Dropioo workspace.
Steps
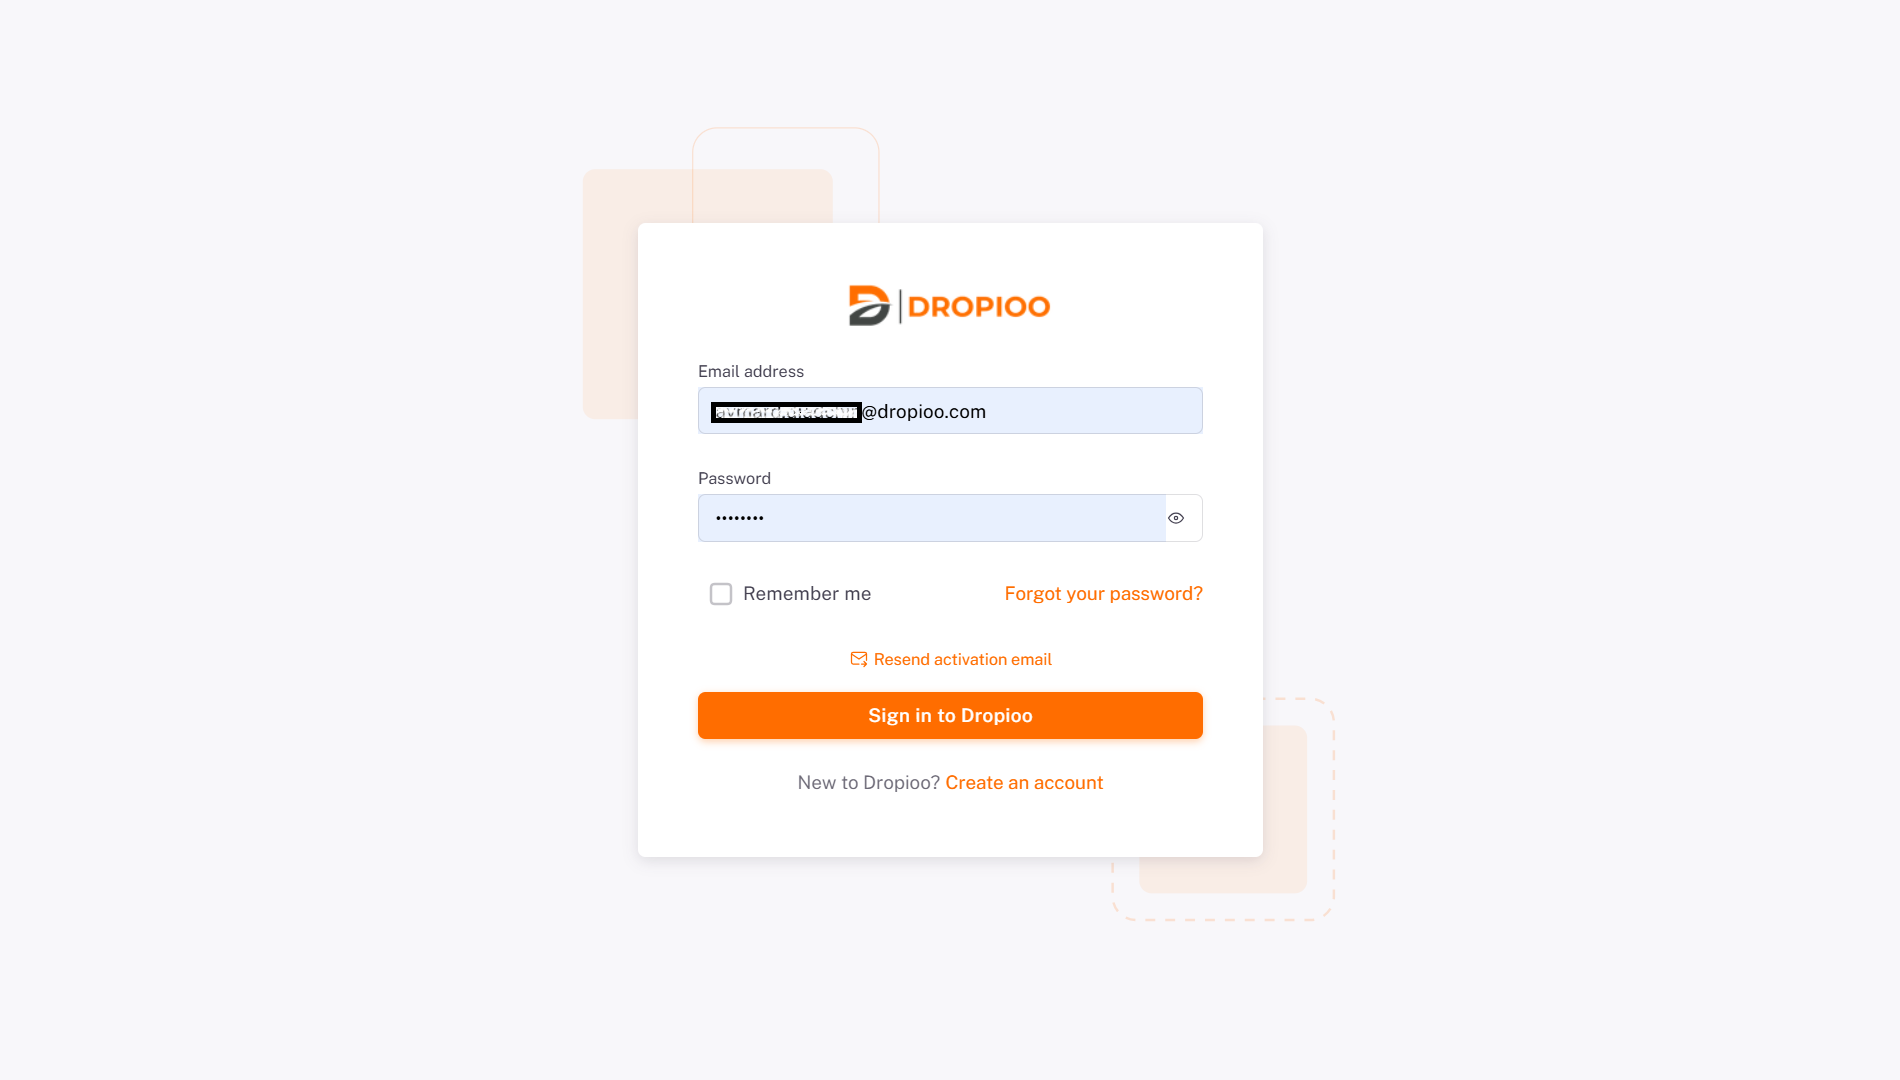
Go to the Dropioo login page.
Enter your business email.
Enter your password.
Click Log In.
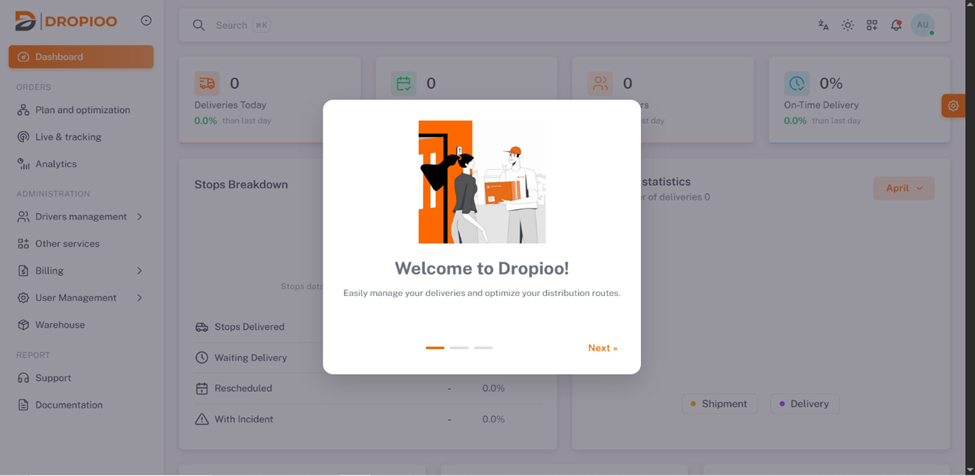
After logging in, you will be redirected to the onboarding process.
4. Set up your workspace
Your workspace represents your company environment inside Dropioo. This is where your users, warehouses, routes, drivers, orders and delivery operations will be managed.
Steps
Confirm your company name.
Select your business category.
Add a short company description.
Set your default operating location.
Save your workspace settings.
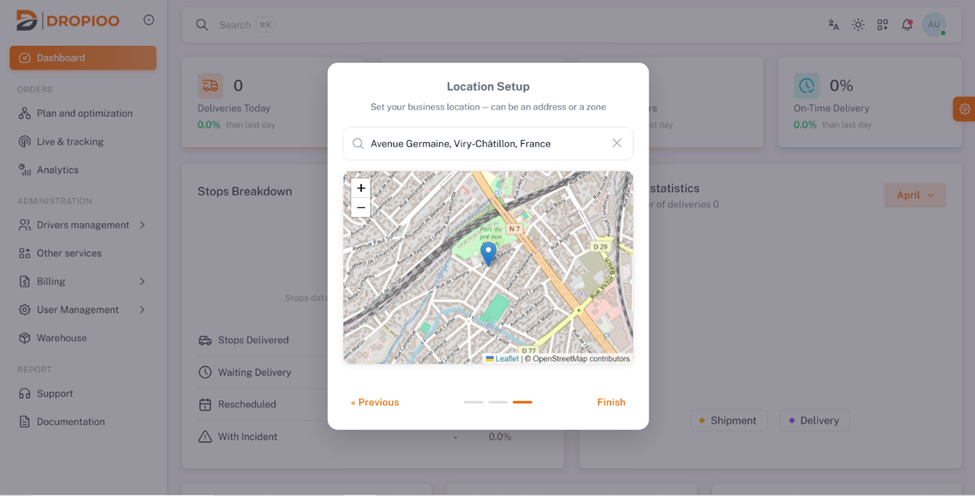
Why this step matters
The workspace configuration helps Dropioo adapt the platform to your business context, including scheduling, route planning, order management and operational reporting.
5. Configure your main warehouse
Your warehouse is the default starting point for your delivery operations. It may represent your depot, store, fulfillment center, dispatch location or pickup point.
Steps
Go to the Warehouse section.
Click Edit Warehouse.
Enter the warehouse name.
Enter the full warehouse address.
Check the location on the map.
Adjust the marker if necessary.
Set the warehouse operating hours.
Save your changes.
Recommended information to add
Warehouse name - Full address - Contact person - Phone number - Opening hours - Closing hours - Default pickup time - Notes for drivers or dispatchers
6. What to do next
After completing your account setup, we recommend continuing with the following guides:
How to add drivers
How to add vehicles
How to create your first order
How to import orders from a file
How to plan and optimize routes
How to assign routes to drivers
How to track deliveries in real time
How to manage proof of delivery
Was this article helpful?
Still need help?
Contact support